

Have you ever finished a PMU session only to notice patchy brows, uneven lip blush, or an inconsistent eyeliner line? Don’t worry—you’re definitely not alone! Even seasoned artists sometimes face challenges with pigment consistency.
The good news? With the right techniques, tools, and aftercare, achieving smooth, even color is completely achievable. In this post, we’ll share 10 professional tips to help you get flawless PMU results every time. Plus, we’ll highlight some of the best tools to make your work easier and more precise—like Emalla Miuxia needles and medical-grade healing patches.
So grab your coffee ☕, and let’s dive in! By the end of this guide, you’ll know how to:
-
Keep your pigment evenly distributed
-
Reduce touch-ups and corrections
-
Help your clients get the best, most lasting results
1. Choose High-Quality Needles
-
The type of needle affects pigment depth and evenness.
-
Recommended: MIUXIA PMU Premium Cartridges – precision-engineered to minimize skin trauma and ensure smooth pigment deposition. (Product Placement 1)
2. Adjust Needle Depth Properly
-
Too shallow → pigment may not hold.
-
Too deep → bleeding, scabbing, or uneven color.
-
Maintain a consistent depth in the superficial dermis for the most uniform results.
3. Select Appropriate Pigments
-
Pigment particle size and dispersal influence color uniformity.
-
Choose medical-grade pigments with consistent particle distribution.
4. Maintain Hand Stability
-
Irregular speed or pressure causes patchy color.
-
Use gentle, steady strokes to ensure even pigment distribution.
5. Avoid Overlapping Too Much
-
Excessive layering can create uneven dark spots or pigment buildup.
-
Gradually build up color over multiple sessions for a natural effect.
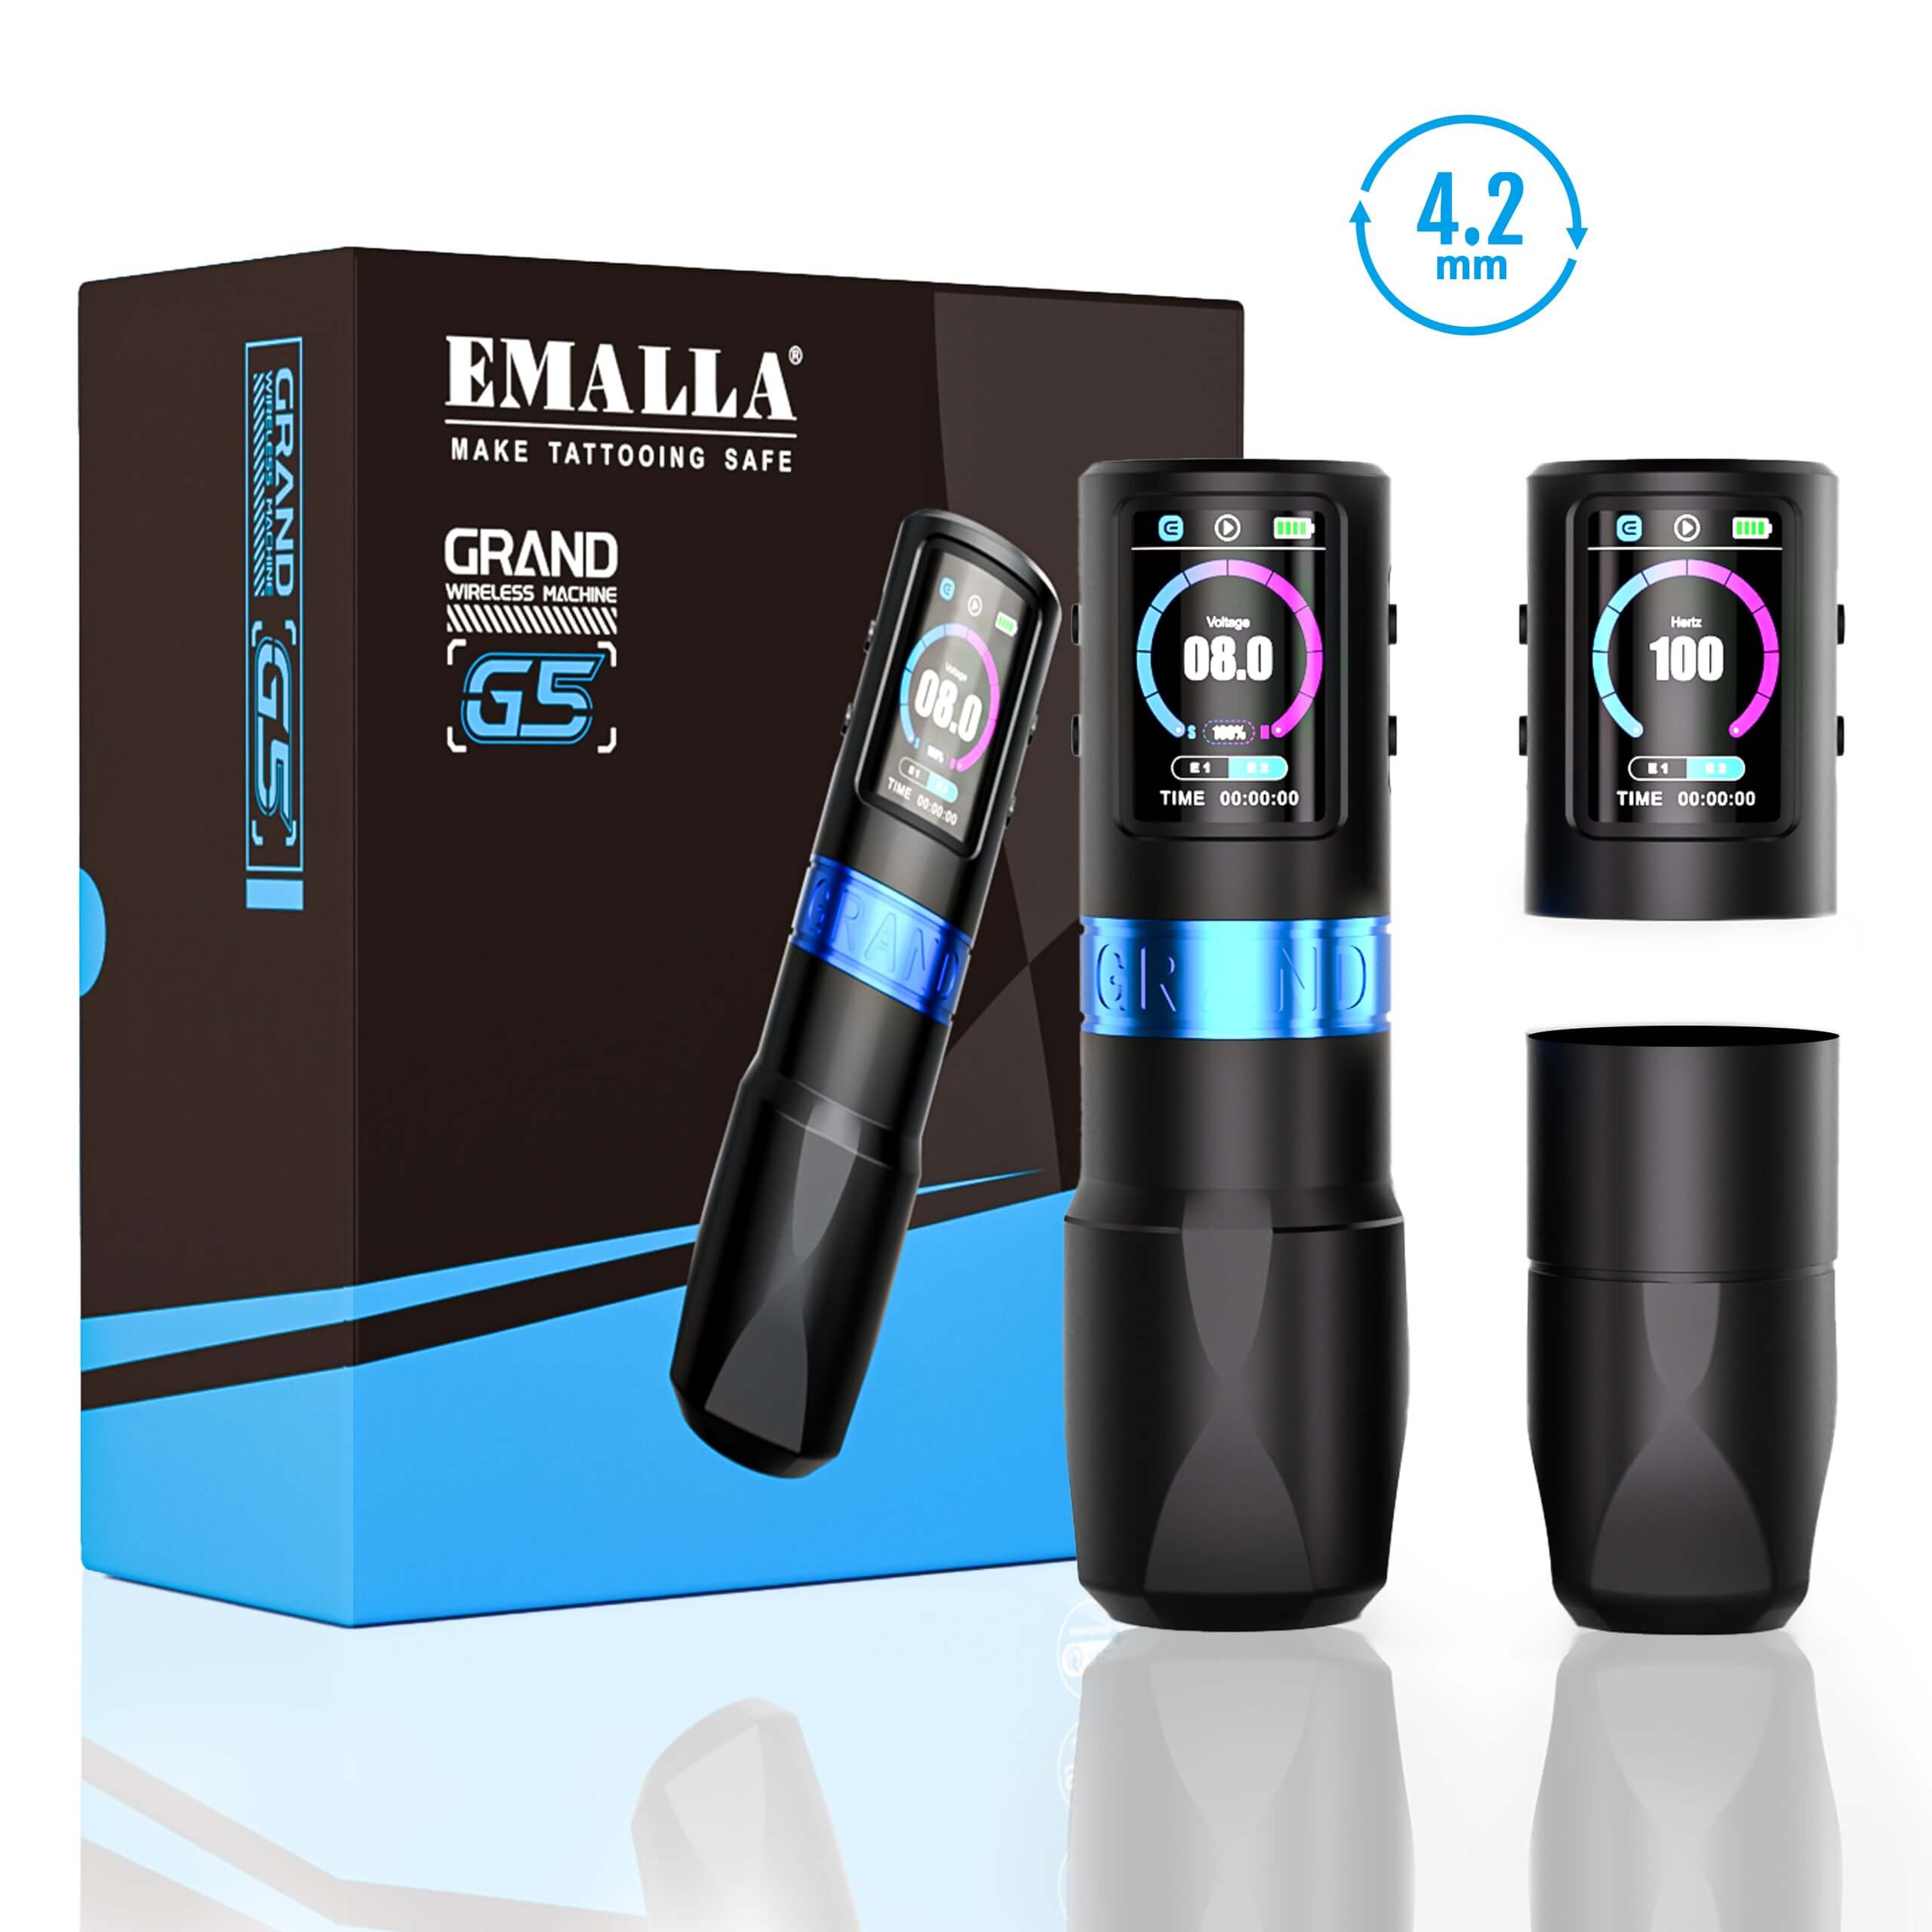
6. Use Proper Machine Settings
-
High voltage/speed → skin trauma.
-
Low voltage → pigment does not penetrate properly.
-
Adjust settings based on the treated area.
7. Keep the Skin Taut
-
Smooth, taut skin allows for more precise needle movement.
-
Artists can gently stretch the skin to stabilize the needle path.
8. Post-Procedure Care
-
Proper aftercare helps prevent pigment loss.
-
Recommended: Medical-grade healing patches – protect the treated area, reduce friction and infection risk, and support even pigment retention. (Product Placement 2)
9. Educate Your Clients
-
Advise clients to avoid water, sweating, and makeup for the first 7 days.
-
Remind them not to pick at scabs to prevent patchy pigment loss.
10. Continuous Learning and Practice
-
PMU techniques evolve rapidly, and new tools are constantly developed.
-
Attend workshops, try advanced needles and aftercare products to refine your results.
Achieving even pigmentation in PMU doesn’t have to feel like a guessing game. By combining solid technique with the right tools and proactive aftercare, you can consistently deliver results that wow your clients. ✨
Next time you’re prepping for a session, remember: the little details—like choosing the right needle or using a healing patch—can make a huge difference. So go ahead, experiment, refine your skills, and watch your PMU results reach a whole new level of perfection.
💬 We’d love to hear from you! Do you have a favorite trick or tool that helps you achieve even pigment? Share your tips in the comments below and let’s help each other elevate our PMU game!